You guys know Morgan right?

Well, she's a teen and like many teens, she has acne. Heck I still get pimples sometimes too. Morgan hates washing her face. Period. So skin care routines are not even a fantasy around here.

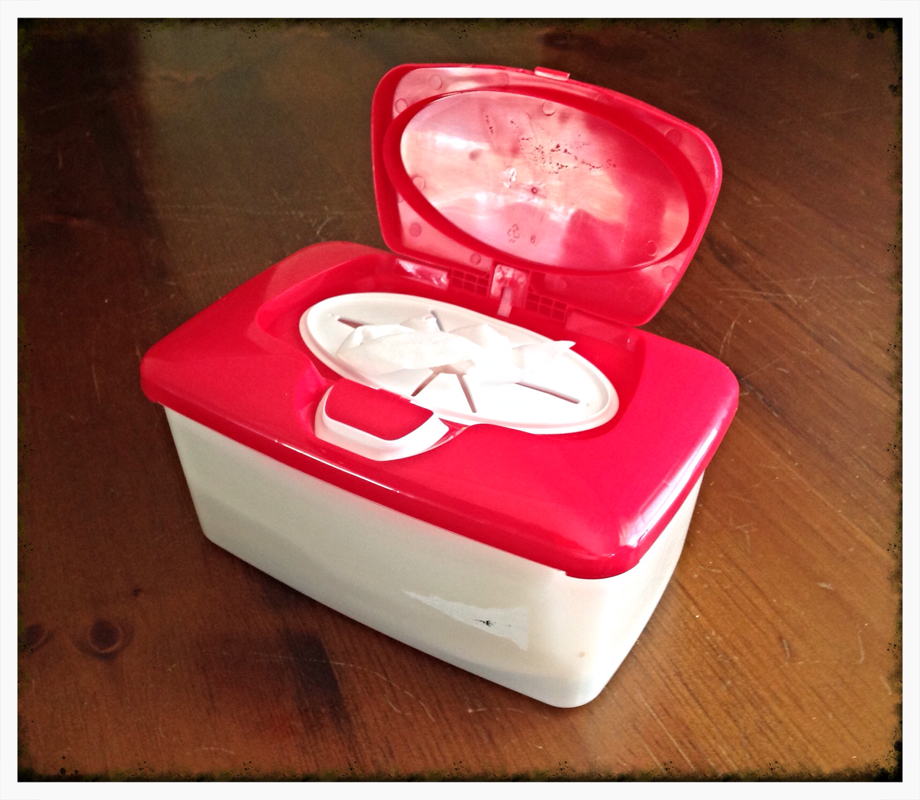
In trying to simplify, I thought I'd make her a one step deal.... Wipes.

Here's what I did:

SUPPLIES

Box of inexpensive wipes

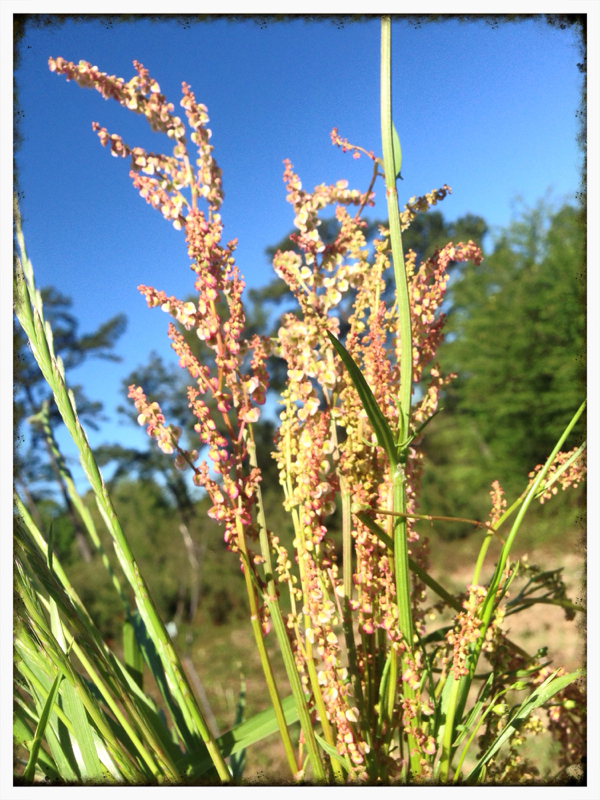
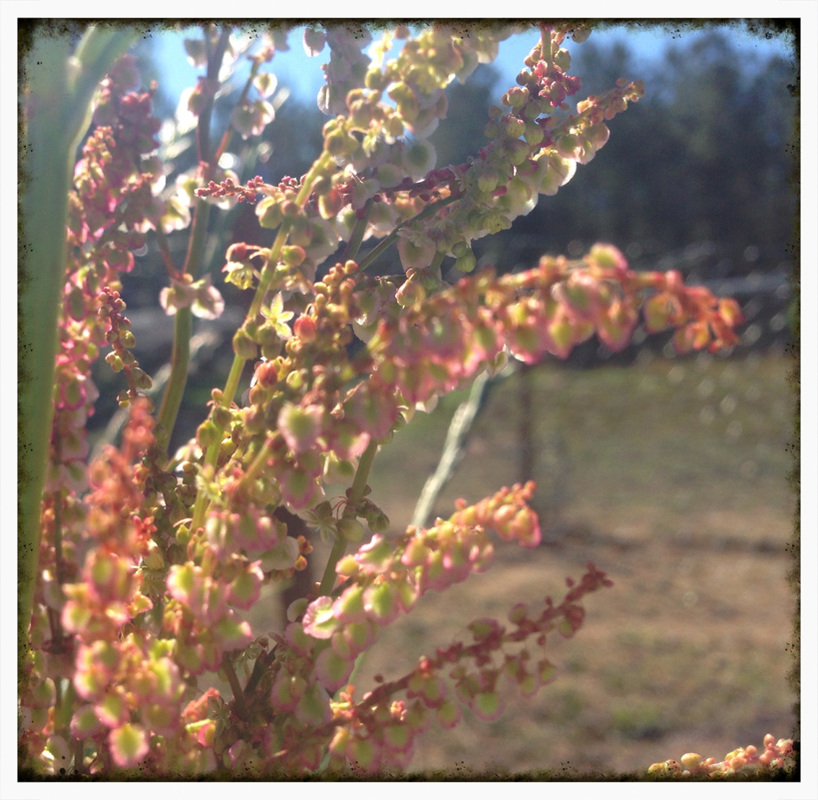
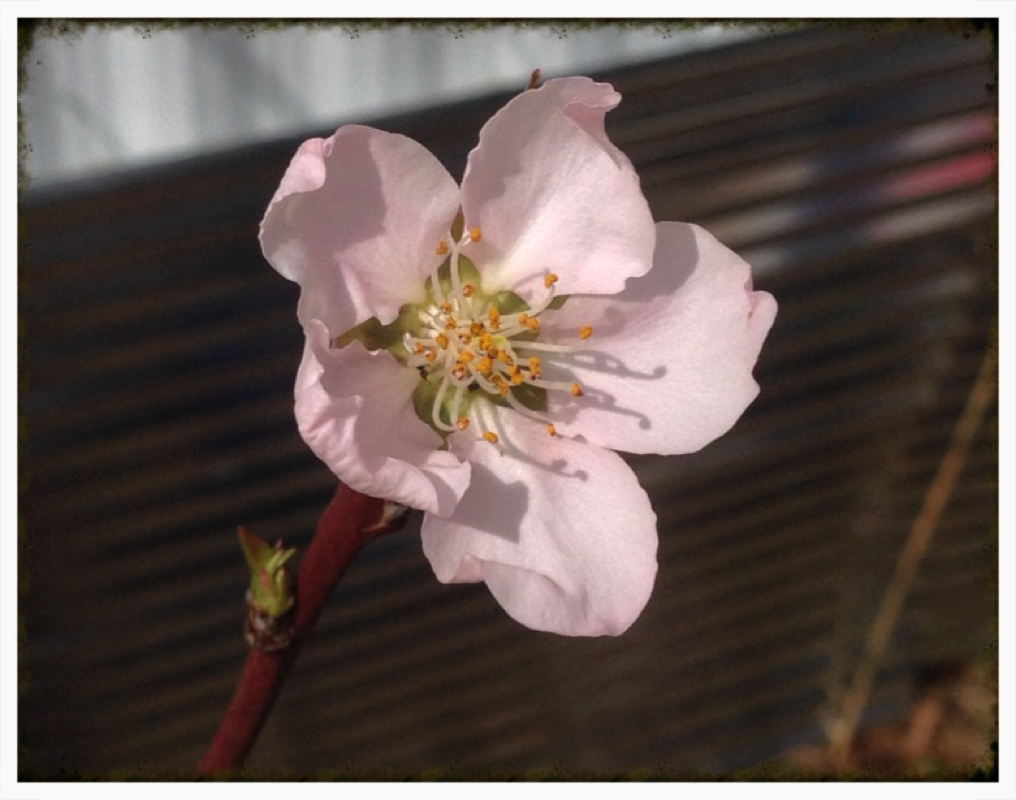
Rose ( from her rose bushes)

1 1/2 cups water

1 Tbsp coconut oil

1 Tbsp pure Castile soap

3 drops tea tree essential oil

3 drops lavender essential oil

3 drops lemon essential oil

STEPS

  1. Put rose petals in a glass jar and pour 1 1/2 cups boiling water over them. Set aside.
    1. Thoroughly rinse the wipes and squeeze excess water. Several times if needed.
    2. Put wipes between towels and press out any remaining water. Return to container.
    3. Remove petals from rose water and put in compost.
    4. Add coconut oil and stir to melt.
    5. Add essential oils
    6. Pour mixture over wipes, turning the stack over if necessary for the liquid to be absorbed.

That's it. Pop one out to cleanse your face or gently remove makeup. This soothing formula is anti everything, natural and good for your skin.

Go a step further and use reuseable flannel squares to make it good for the environment too.

I chose wipes that are biodegradable so we can compost ours.

Time Away

4/9/2014


For most people, time off is fun. We are no different when time away from the ace means spending time with Family.

Saturday we went to a gathering at my Sisters and it was wonderful. Sunday it rained, Monday we did something important that took us away from the place, and yesterday we went to doc visits.

It's nice to see the sun shine and watch the chickens, we'll be chickens, again today. We have some cleanup from the storms to do and some garden work.

The pics are of a ome unknown grass/grain that grows here that the girls LOVE!

What are you doing today?

Rain Barrel Love

4/5/2014


We got a deal on these rain barrels, so got four. Between them it'll collect 230 gallons of water.

You may not know this about me but I imagine things and can see the patterns and parts to put it together. So yesterday I imagined a stand to support the weight and lift up the barrels.

I got all the parts cut last night and today Joey and I put it together. Bob showed up to lend a hand in bracing parts at just the right time.

This uses 4x4s we got from a palette, wood we found here and six 2x4s we bought.

Now to put the gutters on the shed


We put up branches in the coop but I heard the chickens like ladders too. So I made this one for them today.

Finally got a photo of my basil seedlings. They smell fantastic. I pulled a few for the chickens and they played keep away. Lol

This bib lettuce is so vibrant. I can't wait to eat it!!

 
Picture
Milk Crate Nest Box

Rather than buy nesting boxes, (9.99 - 29.99) or build then from lumber, we went with using something that was here on the farm when we bought it... Milk crates.

We must have a dozen or more of them around the place. I didn't know what I would use them for, but I knew we'd find them useful.

The oldest of our flock is just four weeks from her potential start date to lay eggs. Plus as we are gathering materials to convert the shed, nesting boxes are a priority for me.

First I thought of using buckets, but as I watched the girls hiding in crates in the run, I knew this was the perfect safe place for them to lay and brood more chicks.

So Joey and I cut one side open. Then we sanded it smooth. Some of my crates had bottom holes too big for my bantams. Hardware cloth to the rescue.

I'm overlapping it because I'm using a scrap.

To hold it in place, use plastic ties, bread ties, yarn or wire. Whatever you have on hand. I cut the wire to 4 or five inches.

Fold the wire in half like a pin or staple.

Push it through the hardware cloth across a corner or intersection.

Pull to the bottom, twist and bend over.

That's it. Pin it as much as you feel is needed. I did the four corners and two at the overlap.

We have eight nesting boxes made with scraps and old crates. Free is good


Bob, Joey and I finished another little thing for the chicks today. Feeders. A friend shared a pic of a feeder that would reduce the amount of feed the Chicks waste.

I'm all over that.

It's PVC pipe, two caps and a y connector. I made it low to the ground for the pullets. BUT we prepped extender parts for when they grow up.

Sweet.


We want to free range our flock, but we want to be prepared if we have issues with neighbors dogs or other predators.

So we are putting a run on the chicken coop. Yesterday we set posts and today we are digging the trench to bury hardware cloth. This will deter digging.

We just started digging, then it occurred to me to run a string between the poles so we could have a guide.

Looking Better

3/8/2014


We are getting the land cleaned up, finished the underpinning on the mobile home and are drying some of the wet pine shavings. It's been a busy day.

It's starting to look more like a place we want to have, Bob said this afternoon.

Growing Room

3/4/2014


The girls are growing fast and the blue tub was looking cramped. So I modified a box for them.

Now they have room to stretch their legs. Which is good since it's to cold in their greenhouse for them to play outside.

Field Prep

3/2/2014


That's Corey, my nephew. He came over today to help clear the chest deep brambles in the fields.

He cut a trench and then we burned the field. We chose this since none of us knew what was under the brambles and didn't want to damage his equipment.

We did rake up some of the grass/hay first though. We piled it on the compost pile for now, but I'll use it to plant potatoes.

We also picked up our first fruit trees last night. Bartlett and keiffer pear, Fugi and gala apple, Georgia belle and red haven peach and a fig.

Citrus will come next

The peach is already blooming!!